
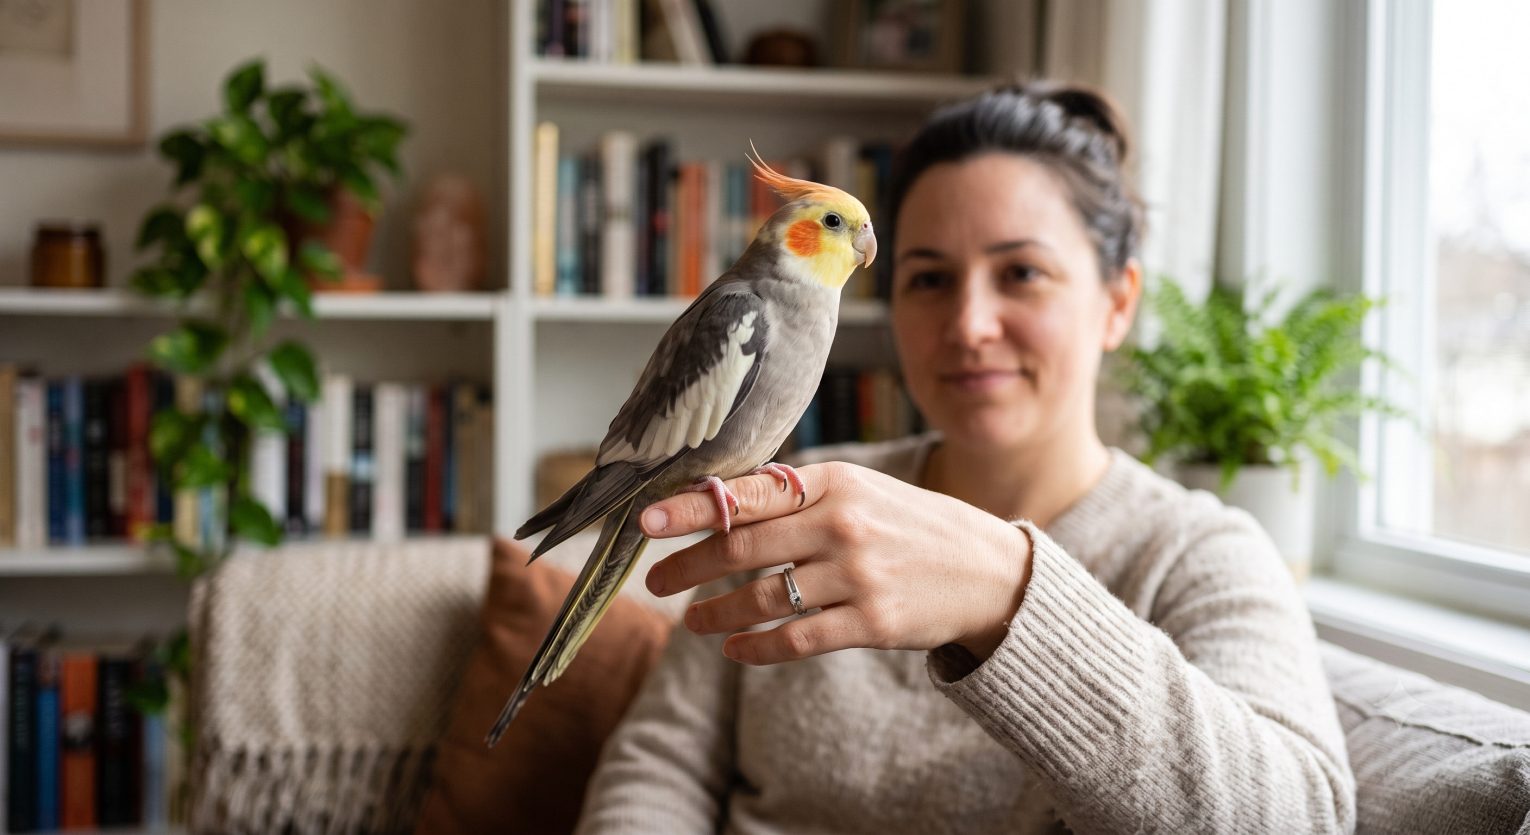
Taming a bird means building trust gradually through calm presence, positive reinforcement, and reading body language correctly—never through force. Start by simply sitting near the cage without direct interaction, progress to offering treats through the bars, then to a hand inside the cage, and finally to the “step up” command. Most birds show meaningful progress within 2–4 weeks, though timelines vary significantly by species, age, and prior handling history.
Unlike dogs, birds are prey animals by evolutionary design—their default response to anything unfamiliar is caution, not curiosity. Taming works by consistently proving, one small interaction at a time, that your hands are not a threat. Rushing this process is the single most common reason taming attempts fail or backfire into a bird that bites.
Taming is one part of a much bigger picture covered in our Bird Care Guide—the complete hub for parrots, budgies, cockatiels, and other pet birds. If your bird is also dealing with excessive screaming or noise, our Why Does My Bird Scream? How to Stop Excessive Noise guide addresses a closely related trust and communication issue.
(💡 Relaxed feathers, a level body posture, and calm breathing are the clearest signs a bird feels safe during a taming session.)
Table of Contents
Understanding Bird Psychology First
Before any technique, one fact needs to reframe how you approach taming: birds are prey animals. Unlike dogs, which evolved alongside humans as social pack animals seeking connection, a bird’s default instinct toward anything large, fast, or unfamiliar is to treat it as a potential predator.
This isn’t stubbornness or a “bad” temperament— it’s a survival strategy that kept their wild ancestors alive. Every taming technique in this guide works by slowly and consistently demonstrating that your hands, your presence, and your movements are not a threat.
❔What this means practically:
- Sudden movements, looming over the cage, or approaching from directly above (the way a bird of prey would attack) can undo weeks of progress in a single interaction.
- Trust is built through hundreds of small, predictable, low-stakes repetitions—not one dramatic breakthrough.
- A bird that bites during taming is almost always communicating fear, not aggression or dominance.
(🎓 Trainer’s Note: “The biggest mindset shift new bird owners need is dropping the ‘dog logic’ of training. A dog often wants your approval. A bird needs to be convinced you’re safe first—approval comes much later, if at all, and it looks different. Read the body language, not your own expectations”—LovingPetsGuide Training Advisor.)
Reading Bird Body Language: Fear vs Comfort
This is the single most useful skill for taming any bird successfully—more important than any specific technique below.
❌ Signs of fear or discomfort:
- Leaning or pulling away from your hand.
- Wide, fixed, or “pinning” eyes (rapid pupil constriction and dilation).
- A low crouch or flattened body posture.
- Feathers pulled tightly against the body.
- Wing quivering.
- An open beak held toward you.
- A raised crest (in cockatiels and cockatoos specifically).
- Rocking the head from side to side.
✅ Signs of comfort and trust:
- Relaxed, slightly fluffed feathers (not tightly pinned or aggressively puffed).
- Normal, level body posture with weight settled evenly.
- Slow blinking.
- Preening in your presence.
- Calm, steady breathing.
❗The rule that matters most: If you see fear signals, stop and back off to the previous step that was working. Continuing to push forward when a bird shows fear signals is the most common cause of taming setbacks and defensive bites.
📰 The specific fear and comfort signals described here are documented by the Association of Avian Veterinarians (aav.org), which identifies leaning away, wide-open eyes, a low crouch, wing quivering, tightly held feathers, a raised crest in cockatiels and cockatoos, an open beak, and head rocking as recognized signs of fear or discomfort in pet birds. Recognizing these signals early—before a bird escalates to biting—is consistently emphasized across avian behavioral resources as the foundation of successful, low-stress training.
Before You Start: The Adjustment Period
A brand-new bird—whether from a breeder, rescue, or pet store—needs time to settle before any taming attempts begin.
Give it at least a week. During this adjustment period:
- ✔️ Speak softly near the cage without attempting to handle the bird.
- ✔️ Maintain a consistent daily routine for feeding and cage cleaning—predictability reduces stress significantly.
- ✔️ Offer treats through the cage bars without opening the door.
- ✔️ Avoid excessive noise, crowds of visitors, or sudden changes near the cage.
Birds that are hand-raised from a young age typically tame far faster than older, wild-caught, or parent-raised birds, who may take considerably longer and require extra patience. Small species like finches and canaries can be especially difficult or impractical to hand-tame compared to parrots, cockatiels, and budgies.
📰 The recommended one-week adjustment period before beginning handling is documented by VCA Animal Hospitals (vcahospitals.com), which notes that a newly acquired bird has just lost its familiar surroundings, cage mates, and handler, and is typically under moderate stress during this transition. VCA also confirms that hand-raised birds bond and tame more readily than wild, colony-raised, or parent-raised birds, and that small species such as finches and canaries can be notably more difficult to hand-tame than parrots.
The Step-by-Step Taming Process
Work through these stages in order. Do not progress to the next step until your bird shows consistent comfort signals at the current one— even if that means staying at one stage for several days.
🪽 Step 1: Calm Presence Near the Cage
Goal: Your bird stops reacting with alarm when you approach.
Sit near the cage daily and talk in a calm, low voice—reading aloud works well since it keeps your voice steady and predictable. Do not reach toward the cage yet. This step alone can take anywhere from a few days to two weeks depending on the bird’s starting point.
🪽 Step 2: Hand Near the Cage
Goal: Your bird tolerates your hand close by without fear signals.
Rest your hand on top of the cage, then near the open door, without reaching inside. Offer a treat through the bars while your hand is nearby. This builds the association between your hand and something positive before your hand ever enters the cage.
🪽 Step 3: Hand Inside the Cage
Goal: Your bird accepts your hand inside their space without alarm.
Open the door and place your hand inside without moving it—let your bird approach on their own terms. Offer a treat from an open palm. Some birds take days at this stage; don’t rush past it just because a few sessions went well.
🪽 Step 4: Target Training
Goal: Your bird learns to touch a target stick or your finger on cue—the foundation for step-up.
Present a target (a chopstick, dowel, or simply your fingertip) a short distance from your bird. The moment they touch it with their beak, mark the behavior with a calm “Good” or a clicker, and reward immediately. This teaches a clear, low- pressure communication system before you ask for anything physical like stepping onto your hand.
🐾 Bird Training Treats 🐾
🎯 Millet Spray & Training Treats—Millet spray works well as a high-value training reward for small species, while nuts or dried fruit pieces work for larger parrots. Reserve your bird’s favorite treat exclusively for training sessions to keep it maximally motivating.
🪽 Step 5: The “Step Up” Command
Goal: Your bird steps onto your hand or finger on cue.
Once target training is reliable, present your hand or finger just above your bird’s feet, gently pressing against their lower belly/upper legs while saying “Step up” calmly. Most birds will shift their weight onto the offered hand naturally—reward immediately when they do. Keep the motion slow and predictable every time.
🪽 Step 6: Time Outside the Cage
Goal: Your bird stays calm perched on your hand away from the cage.
Once step-up is reliable inside the cage, practice it just outside the open door, then gradually further into the room. Keep sessions brief at first and always end on a successful, calm note rather than pushing until your bird becomes stressed.
What to Do If Your Bird Bites
Biting during taming is almost always a fear response, not aggression. How you respond matters significantly for future progress.
✅ Do:
- Go back to the previous step where your bird was comfortable and rebuild more slowly.
- Stay calm and avoid a big reaction—startling or shouting teaches the bird that biting is an effective way to create distance and drama.
- Note what happened immediately before the bite (were there fear signals you missed?).
❌ Don’t:
- Push through repeated bites at the same stage hoping the bird will “get used to it”.
- Pull your hand away suddenly—this can injure the bird’s beak or reinforce that biting creates a big, exciting reaction.
- Punish or scold your bird—this adds fear on top of fear and sets taming back further.
(🩺 Vet’s Note: “A bird that bites consistently at the same stage of taming is telling you clearly that stage is too advanced for where they currently are. The fix isn’t more exposure—it’s stepping back and rebuilding trust at a level the bird can actually tolerate”—LovingPetsGuide Veterinary Advisor.)
Common Taming Mistakes
| ❌ Mistake 1. Approaching from above. Reaching down over a bird’s head mimics a predator attack from the sky. Approach from the side or slightly below eye level whenever possible. |
| ❌ Mistake 2. Rushing the timeline. Progressing to the next step because “it’s been a few days” rather than because the bird shows genuine comfort signals is the most common reason taming stalls or reverses. |
| ❌ Mistake 3. Inconsistent household handling. If one person moves slowly and calmly while another grabs at the bird, trust-building becomes confusing and unreliable. Everyone in the household needs to follow the same approach. |
| ❌ Mistake 4. Skipping target training. Jumping straight to step-up without first establishing a shared communication system through target training often creates more confusion and resistance than it saves in time. |
| ❌ Mistake 5. Training when the bird is stressed for other reasons. A bird that’s molting, unwell, or has just experienced a loud disturbance needs rest, not a training session. |
Species Differences Worth Knowing
🦜 Budgies: Often dismissed as too small or “flighty” to tame, but they respond very well to patient target training and short, frequent sessions.
🦜 Cockatiels: Watch the crest closely—a raised crest combined with other fear signals is a clear signal to slow down.
🦜 Larger Parrots (African Greys, Amazons, Macaws): Generally intelligent enough to learn quickly once trust is established, but also more capable of a painful bite—extra patience with body language reading pays off significantly with these species.
🦜 Older or Wild-Caught Birds: Expect a meaningfully longer timeline—weeks to months rather than days to weeks—and consider consulting a certified avian behaviorist if progress stalls completely.
Conclusion
Taming a bird is not a single event—it’s the accumulation of hundreds of small, low-stakes interactions where nothing bad happens. Every calm approach, every treat offered through the bars, and every correctly read fear signal adds up to a bird that genuinely trusts you, rather than one that has simply stopped resisting out of exhaustion.
Key takeaways:
- ✅ Birds are prey animals—trust is earned gradually, not demanded.
- ✅ Learn fear vs comfort body language before anything else.
- ✅ Give a new bird at least a week to settle before handling begins.
- ✅ Progress through stages based on comfort signals, not the calendar.
- ✅ Target training builds communication before step-up.
- ✅ A bite is fear, not dominance—respond by slowing down, not punishing.
- ✅ Hand-raised birds tame faster than wild-caught or older birds—adjust expectations accordingly.
📝 Editor’s Note: The body language signals described in this guide were verified against the Association of Avian Veterinarians (aav.org). Adjustment period and taming timeline guidance was cross-referenced with VCA Animal Hospitals (vcahospitals.com), including the differences in taming difficulty between hand-raised, wild-caught, and parent-raised birds.
👉🏼 Bird Care Guide—complete hub for parrots, budgies, and other pet birds.
👉🏼 Why Seeds Aren’t Enough: A Complete Bird Diet Guide—the nutritional foundation for a healthy, trainable bird.
👉🏼 Why Does My Bird Scream? How to Stop Excessive Noise—a closely related trust and communication issue.
👉🏼 Bird Cage Setup Guide—bar spacing, perches, and safety essentials.
👉🏼 Safe Fruits & Vegetables for Pet Birds—high-value treats for training sessions.

🦜 Browse bird food, cages, perches, toys, supplements and everything else your bird needs 🐾
(This post contains affiliate links. If you purchase through our links, we may earn a small commission at no extra cost to you. This never influences our editorial opinions.)
FAQ: How to Tame a Bird
How long does it take to tame a bird?
Most birds show meaningful progress within 2–4 weeks of consistent, gentle handling. Hand-raised young birds often tame faster, sometimes within days. Older, wild-caught, or previously frightened birds can take weeks to months, and some may benefit from working with a certified avian behaviorist if progress stalls.
Why does my bird bite when I try to tame it?
Biting during taming is almost always a fear response, not aggression or dominance. It usually means you progressed to a stage the bird isn’t ready for yet. Note what happened right before the bite, go back to the previous comfortable stage, and rebuild more slowly from there.
What is the “step up” command?
“Step up” is the foundational cue that asks a bird to step onto your hand or finger. It’s taught by gently pressing against the bird’s lower belly while saying the cue, rewarding immediately when they shift their weight onto your hand. It’s typically introduced after target training has established a reliable communication system.
Should I use treats for taming?
Yes. Positive reinforcement with a genuinely high-value treat—reserved specifically for training sessions—makes the process significantly faster and builds a positive association rather than relying on the bird simply tolerating handling.
Can an older or rescued bird still be tamed?
Yes, though it typically takes considerably longer and requires more patience than taming a young, hand-raised bird. Wild-caught, parent-raised, or previously mishandled birds may show more pronounced fear responses initially. Consistency and correctly reading body language matter even more with these birds.
How do I know if my bird actually trusts me, or is just tolerating me?
Look for comfort signals beyond simply not biting: relaxed feathers, preening in your presence, slow blinking, and a level, settled body posture. A bird that stays rigid, avoids eye contact, or leans away while “allowing” handling is tolerating you, not trusting you—continue building slowly rather than assuming taming is complete.